
Dry Salted Olives
A dry-salting method for curing olives, great for smaller olives (like Kalamatas), plus a bonus recipe for Pearl's roasted olives. Dated Thursday, 10 November 2022, 16:34.
Ingredients
| — | Olives (smaller olives such as Kalamata) |
| — | Good quality non-iodised salt |
| — | Lemon slices (for roasted olives; orange or cumquat also work) |
| — | Cloves of garlic, unpeeled (for roasted olives) |
| — | Rosemary (for roasted olives) |
| — | Olive oil |
Instructions
DRY SALTED OLIVES This method is great for smaller olives (like these Kalamatas above, that we scored from a tree on our last road trip).
- First up, make sure your olives are clean by giving them a quick wash, then drain.
- Take your clean jar and add a layer of good quality, non-iodised salt, then a layer of olives, and so on until the jar is full. The salt will trickle down between the olives, but as long as it's all packed in there, that's ok.
- Your salted olives will need a shake and a turn every other day — the olives will soon exude liquid and the whole jar will become rather slushy. That's good. Keep going.
- Start tasting your salted olives at around the 3 week mark, and when they taste right to you (saltier, and a bit shrunken, and slightly sweeter than brined olives), remove the olives from the salt.
- Once your olives are duly salted, you can eat them straight up, or store them in oil with herbs. They're pretty darn yummy.
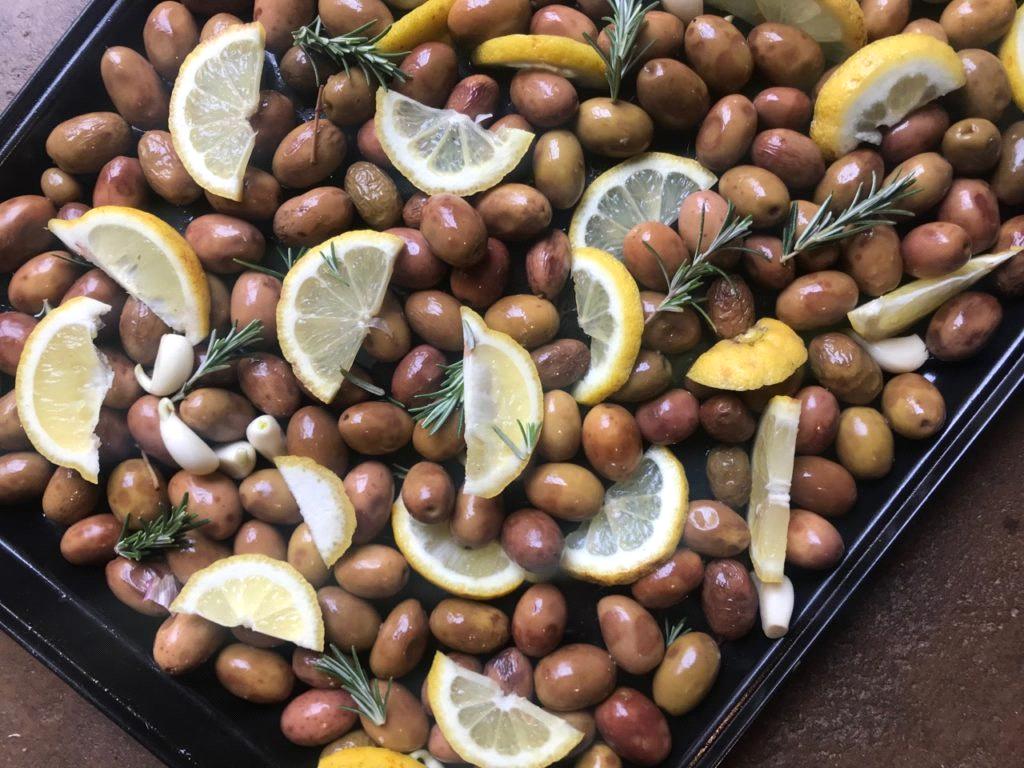
PEARL'S ROASTED OLIVES (our favourite olive recipe ever) A great way to eat 'tasty but not that great-looking' olives that bruised during brining or were wonky to begin with. You will need: Olives; lemon slices (orange or cumquat work well too); lots of cloves of garlic (unpeeled is fine); rosemary; a slosh of olive oil.
- Heat your oven to about 220°C, fan-forced if you've got it.
- Tip drained olives onto a large baking tray, and add lemon slices, whole garlic cloves and bits of rosemary. Make sure the olives aren't over-packed or multiple layers deep — if you have a lot, use two trays.
- Slosh a bit of olive oil over the tray and mix everything around with your hands. Then into the oven.
- Keep an eye on the tray and take it out at the 15 minute mark to agitate and stir, then back in.
- After 20-30 minutes, remove and cool. Exact oven time depends on the size and variety of olives, but you want them a bit blistered on top, the lemon slices getting very toasty, and the garlic very roasty.
- Pour the lot into a big bowl and serve warm to snack on. Also excellent cold the next day.
We learned the roasted olives from our friend Pearl (aka Genevieve). Happy picking + foraging!