
Poured Fondant Icing (Petit Four Glaze)
Making a glaze for your petit fours. To make a great petit four, you first need a fantastic glaze! This icing is my absolute favorite. It's thick enough to give the cakes a clean, opaque finish, but thin enough to make dipping and tapping off excess frosting a breeze. In the original recipe, King Arthur Flour uses white chocolate and food coloring, but that left my finish feeling a little too translucent for my liking. Using candy melts eliminates a step and makes for a brighter, bolder colored icing.
Ingredients
| 1 cup | 240 ml | candy melts |
| 4 cups | 960 ml | powdered sugar |
| 1/4 cup | 60 ml | light corn syrup |
| 1/4 cup | 60 ml | hot water |
Instructions
POURED FONDANT ICING RECIPE Adapted from King Arthur Flour's Poured Fondant Icing Recipe
- Melt the candy melts in the microwave in a small heatproof bowl.
- In a larger bowl, whisk together powdered sugar, corn syrup and hot water until smooth.
- Whisk the candy melts into the sugar mixture until combined.
It's that easy! Use the icing right away and reheat as needed to keep the glaze pourable. Unused icing can be stored in an airtight container, with plastic wrap pressed against the surface of the icing, for up to a week.
HOW TO DIP PETIT FOURS
Supplies:
- Pound cake, baked in a square or rectangular pan (Dédé Wilson shares a killer pound cake recipe in her Coffee-Shop Cakes Craftsy class!)
- Poured fondant icing (recipe above)
- Fork
- Chopstick or skewer
- Knife
- Ruler
- Heart and circle cookie cutters
- Pastel confetti quins
- Parchment paper
- Sheet pan
STEP 1: LEVEL THE CAKE. Trim the top of your pound cake so that it's level. I'm not filling my petit fours, but if you wanted to, this is when you'd do it. Just slice the cake in half horizontally and fill with buttercream or jam. Chill the cake thoroughly before moving onto the next step, so that the filling doesn't squish out while cutting.
STEP 2: CUT THE CAKE INTO SQUARES. Use a ruler and sharp knife to cut the pound cake into little cubes. The classic size for petit fours is 1″ cube, but you can cut yours as large or as small as you like. If you like, you can cut more petit four shapes using the circle and heart cutters. Place the cut cake pieces onto a parchment lined sheet pan and into the freezer for 15 minutes.
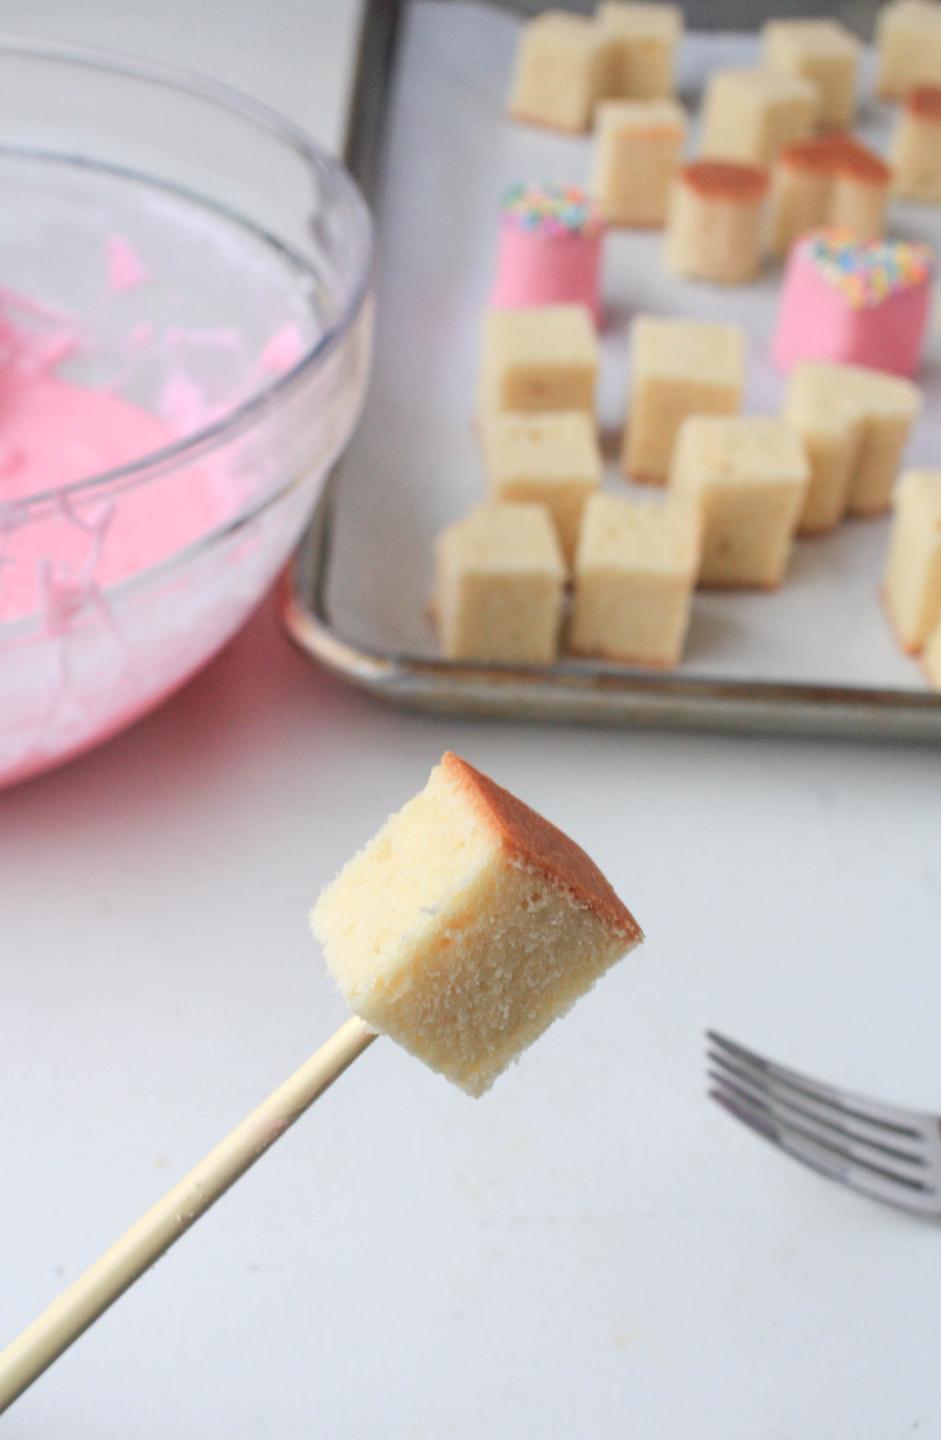
STEP 3: DIP THE CAKE CUBES. Stick the end of a skewer or chopstick into the cut side of a piece of cake. Dip the cake in the poured icing, completely coating the top and sides. Tap the stick against the side of the bowl to shake off excess frosting.
STEP 4: LET THE PETIT FOUR DRY. Slide the fork under the dipped petit four and gently lift it off of the stick. Move the petit four to a parchment-lined baking sheet (or a drip rack), using the stick to help slide it off of the fork.
WANT A LITTLE SOMETHING EXTRA? ADD SPRINKLES! An easy way to doll up your petit fours is with a quick dip in some sprinkles. After coating your petit four with icing, dip the top in pastel confetti quins.
Arrange finished petit fours on a platter or in paper baking cups. Store unfilled petit fours in an airtight container, at room temperature, for up to 4 days. Filled petit fours should be stored dependent on the stability of the filling. Storing petit fours in the fridge will cause the icing to sweat and become sticky.
Now that you've learned how to make petit fours down pat, go ahead and get creative! Change up the colors to match your event or season, or try dipping the tops of your cakes in sanding sugar, crushed candy or nonpareils.