
Slow-Cooked City Ham With Balsamic Brown Sugar Glaze
Sous vide city ham warmed at 140°F for 3 hours, then glazed with a caramelized brown sugar and balsamic vinegar gastrique in a hot oven.
Ingredients
| — | city ham (whole muscle, brined and cooked; spiral-cut is fine) |
| — | brown sugar |
| — | balsamic vinegar |
Instructions
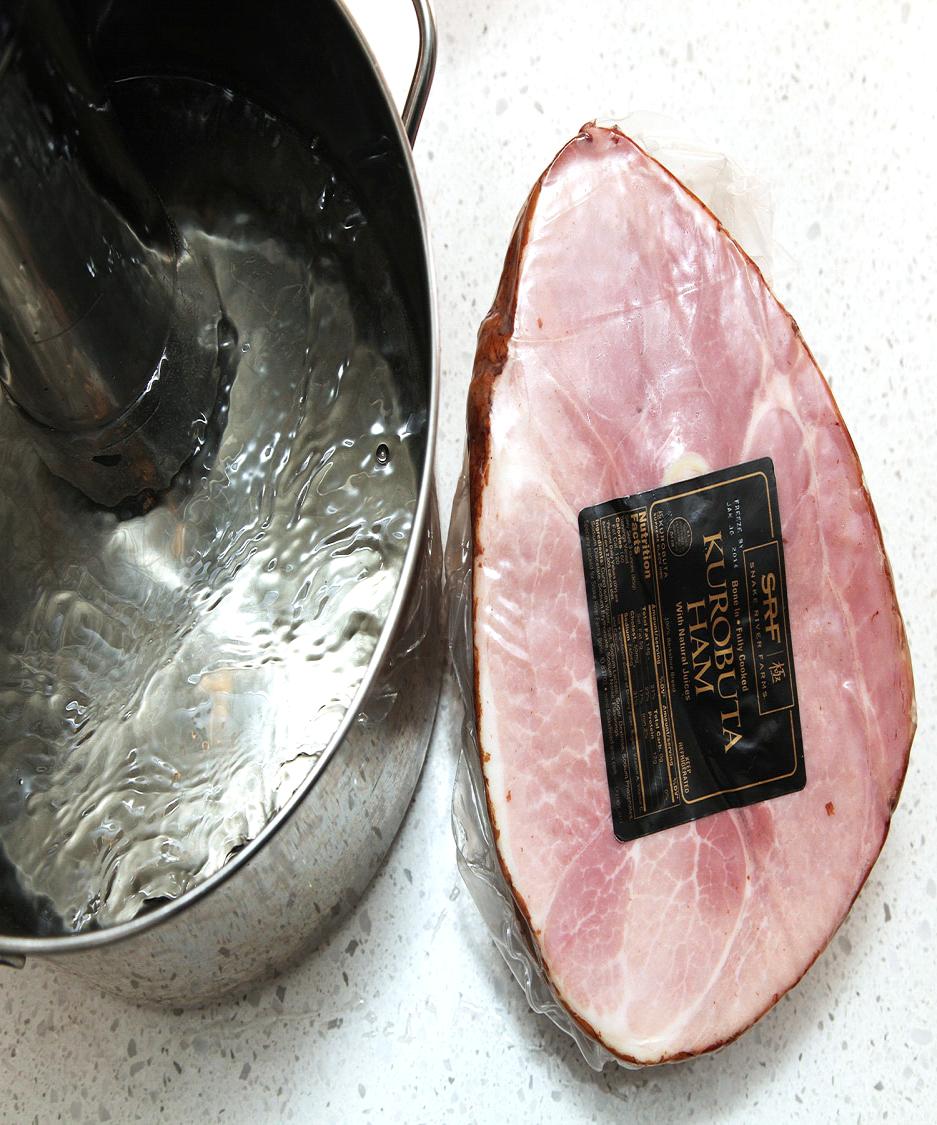
Step 1: Start With a Good Ham Hams come in various levels of quality, ranging from chopped-and-formed giant Spam-like creations, to actual whole muscle-cured and cooked cuts. The latter is what you're after. Once you move into the whole muscle realm, even the standard supermarket option (Cook's brand is the most popular) will do, but you can move into the realm of specialty hams, like this Kurobuta ham from Snake River Farms if something a little more flavorful is on the agenda. For cooking in the oven, I'd generally recommend an un-sliced ham, as those spiral slices are a direct route to moisture loss. But with sous-vide cooking, you're going to be heating the ham in a sealed plastic bag anyway, so spiral cut hams will work just fine. One thing to note: What you're looking for is a city ham, which is brined and cooked, as opposed to a country ham, which is salted and cured raw in the air like a prosciutto or Serrano. For more info on selecting a ham, check out our guide.
Step 2: Warm it Up Since city hams come pre-cooked, you can serve them cold straight out of their packaging, but they're better when warmed up. If you're cooking it using conventional means, this involves slow-roasting it using foil or an oven bag to attempt to keep those juices from drying out. With sous-vide cooking, it's as simple as dumping the ham into a water bath, directly in its packaging. I cook my hams at 140°F for 3 hours to guarantee that they're piping hot through to the center.
Step 3: Make the Glaze Hams, with their smokiness and natural porky sweetness, have an affinity for sweet-and-sour glazes (hence the whole pineapple and cherry thing). In this case, I've made a quick brown sugar and balsamic vinegar gastrique by caramelizing some brown sugar in a saucepan, then deglazing it with balsamic vinegar and letting it reduce down into a sticky glaze. You could just as easily use any other type of vinegar and sugar.
Step 4: Preheat the Oven Once the ham is cooked/reheated, the only thing left to do is glaze it. In order to get that glaze to stick, you want to brush it on and then roast the ham in a very hot oven so that the glaze further reduces and coats the meat. A 500°F oven is ideal.
Step 5: Give it the First Coat Like painting a wall, the best way to build up a good, even coat of glaze is to work in layers. Start by painting one layer on before popping the ham into the preheated oven.
Step 6: Repeat Glaze Continue brushing the ham with fresh glaze every five minutes for a total of three or four coats. When the ham is shiny and shellacked all over, you're done.
Step 7: Get Ready to Carve I'm a fan of practicality in the kitchen, which means that I'd rather serve my ham pre-sliced and ready to eat than to fumble around at the dining room table trying to serve it. Here's the easiest way I know to slice a bone-in ham.
Step 8: Make the First Cut It can be rather impressive to make lots of thin, parallel cuts towards the bone so that you can then release the slices all with a single downward stroke, but here's a much easier way to do it: Start with that vertical cut first. To do this, identify where the bone is (hint: it's where that big bone-shaped knobby bit sticks out of the ham), then slice down along one side of it.
Step 9: Cut Serving Portions Rotate the piece you just cut off so that the cut side is facing down, then slice it into thin serving portions. You'll notice that because of the gentle, in-the-bag preheating, your ham is about as moist as you could hope for, with a juiciness that extends all the way from the edge to the center.
Step 10: ????? Step 11: Profit Serve up that ham with some good wine, a big-a$s fork, and extra glaze tableside.